SmartWings Motorized Shades: My Installation and Home Assistant Setup
My experience installing SmartWings motorized shades, pairing them with Home Assistant, and using Tempest brightness and a window sensor to automate them.
Last year, I installed Aqara curtain drivers in our main bedroom. My wife liked them, but her first question was, “Can it control the blinds too?”
We still had old-fashioned mini blinds in the bedroom windows. I had looked at a few ways to automate them, but I liked the idea of replacing them with motorized shades. When SmartWings reached out, it seemed like a good opportunity to try them in a few different windows around the house.
I went with battery-powered Zigbee shades so I could connect them to Home Assistant through Zigbee2MQTT. Here’s how ordering, installation, and setup went, including the guest bedroom shade I accidentally factory reset along the way.
SmartWings provided these shades free of charge for an honest review. ChrisHansenTech is a participant in the Amazon Services LLC Associates Program, an affiliate advertising program designed to provide a means for sites to earn advertising fees by advertising and linking to Amazon.com. As an Amazon Associate I earn from qualifying purchases. This post may also contain affiliate links from Tempest Ambassador. As a participant in these programs, I may earn from qualifying purchases, at no additional cost to you.
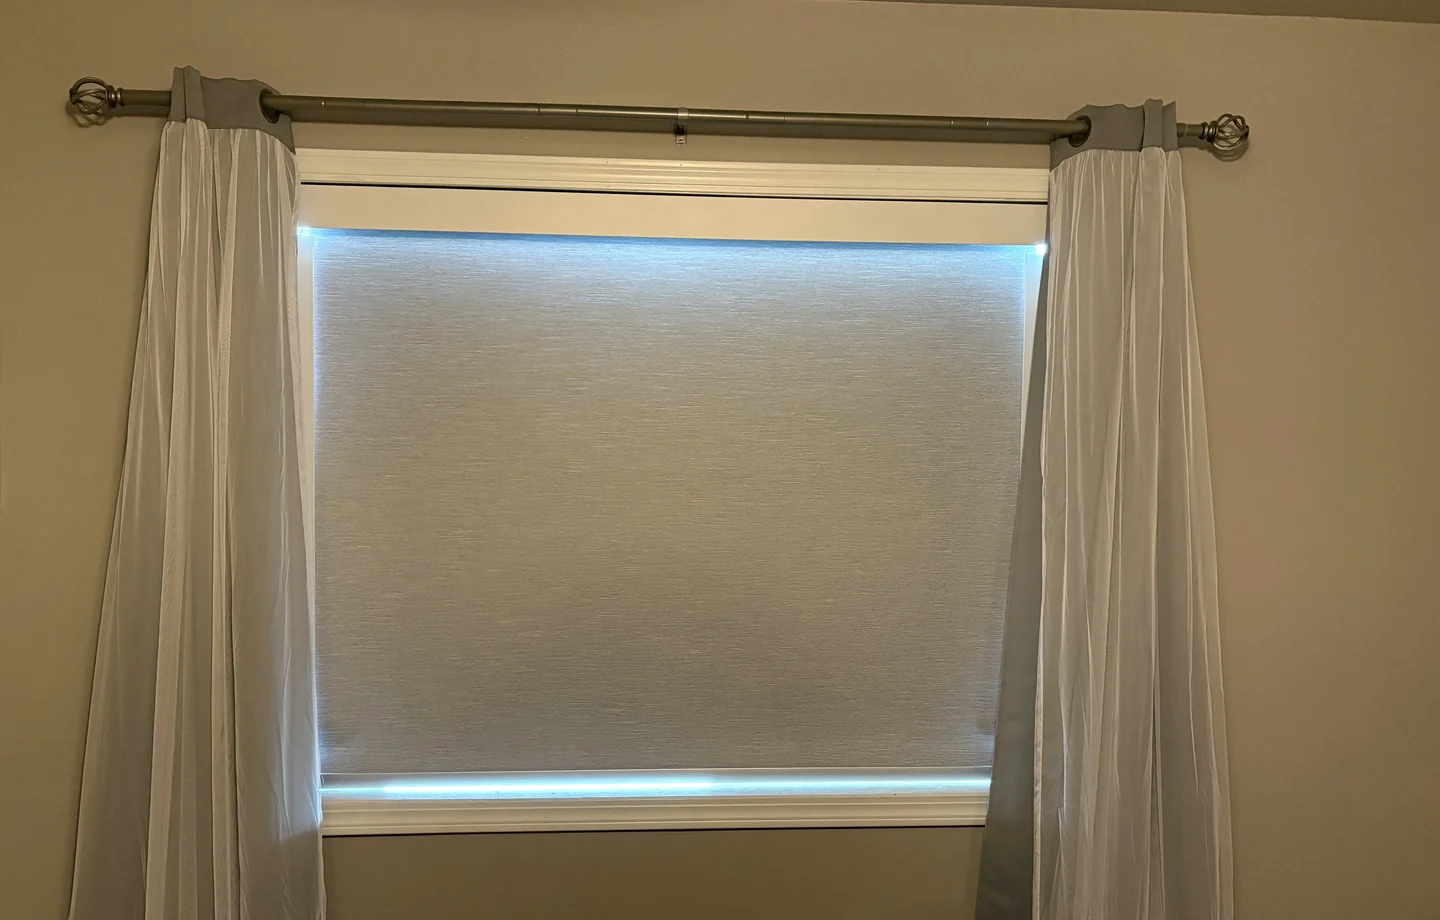 The main bedroom shade, mounted flush with the window frame.
Ordering and Measuring the Windows
I absolutely hate dealing with returns for things I buy online. For something this size, my main concern was getting the measurements right. The SmartWings website did a good job of explaining how to measure the windows and walking me through the choices.
I decided to try shades on three different window sizes:
| Window | Window measurements (W × H) |
|---|---|
| Main bedroom | 57 ⅜” × 45 ⅜” (145.7 × 115.3 cm) |
| Dining room | 69 ⅜” × 16” (176.2 × 40.6 cm) |
| Guest bedroom | 59” × 41” (149.9 × 104.1 cm) |
For both bedrooms, I chose the Roller Shades 100% Blackout Essential in gray fabric and added the light-blocking rails. For the dining room, I went with the Light Filtering Roller Shades 70% Blackout Essential in white.
All three have battery-powered Zigbee motors. I also added the solar panel charger for the main bedroom because that window faces south and gets a lot of sun.
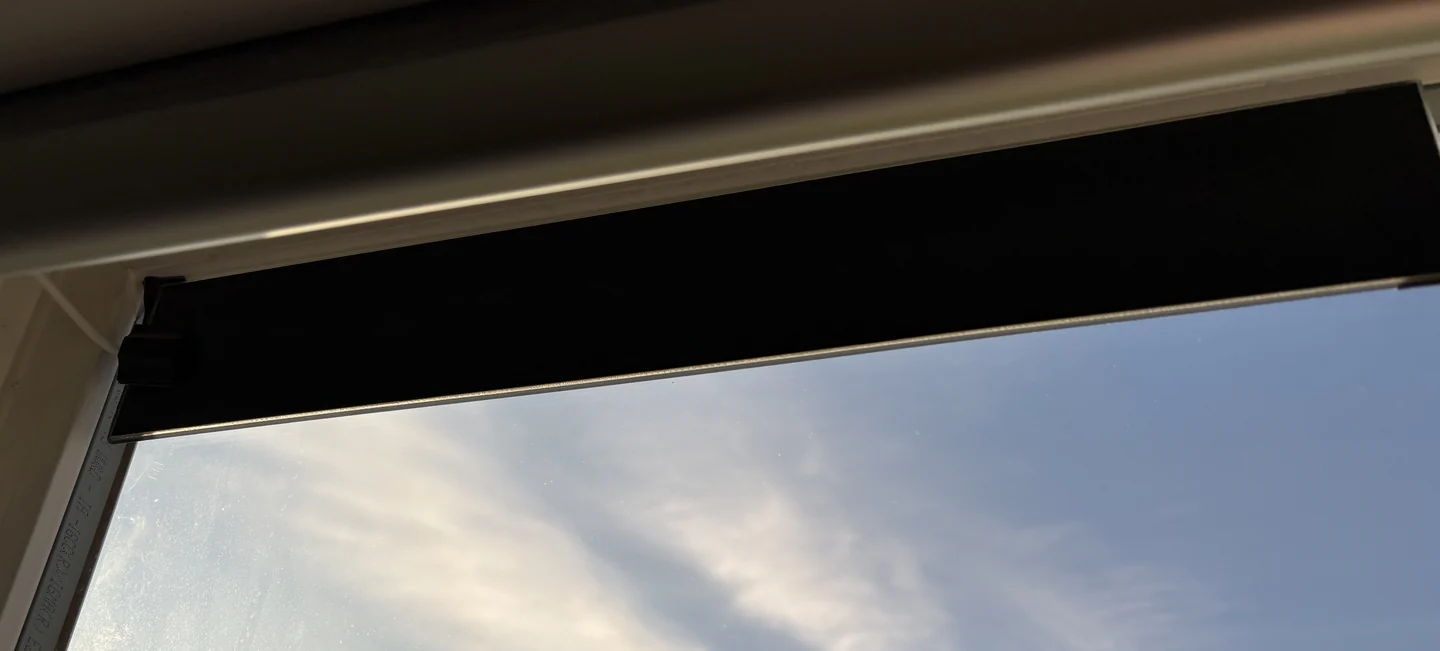 The solar panel mounted at the top of the south-facing bedroom window.
The dining room window needed one extra adjustment: at only 16 inches tall, it was shorter than the shade length I could order. I adjusted its lower stopping point after installation, which I’ll cover below.
What Was in the Box
The Home Assistant dashboard on my desk brought up the doorbell camera when it detected the UPS driver dropping off the shades. Naturally, I went to grab them and opened them right away. Everything was packed well.
The boxes included:
- The shades
- Mounting hardware
- Remotes already paired with the shades
- A 10-foot (3-meter) USB-A to USB-C charging cable
- Manuals: the Quick Installation Guide, Quick Start Guide, Remote Programming Guide, and Zigbee Motor Programming Guide
Installing the Shades
For the first shade, I read through the Quick Installation Guide before starting. I was using an inside mount, so this was the moment of truth for my measurements. The shade fit with about ⅛ inch of clearance on each side. Apparently, I had followed the measuring instructions correctly.
I marked the bracket locations, drilled pilot holes, and installed the brackets. I particularly liked the spring-loaded mounting hardware. To attach the shade, I slid the front of the top rail onto the brackets, pushed it back, and lifted the rear edge until it snapped into place.
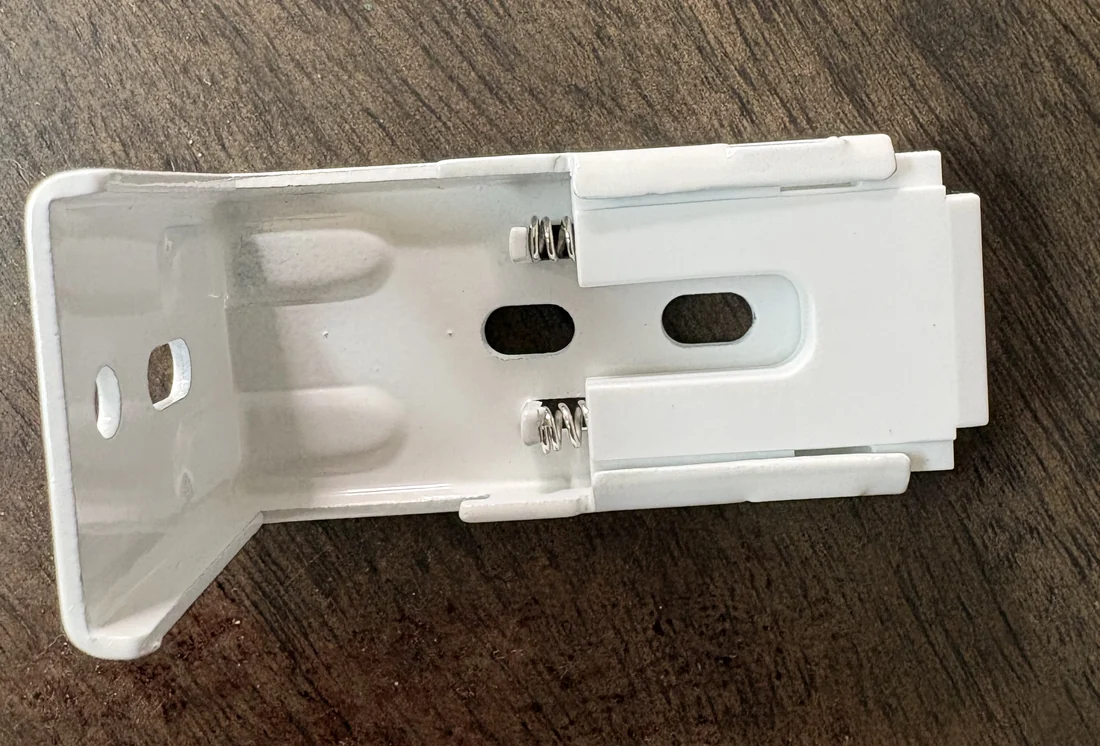 A mounting bracket before installation, with the springs visible beside the mounting slots.
In the main bedroom, I mounted the shade flush with the window frame. It looks nice and blends in with the frame.
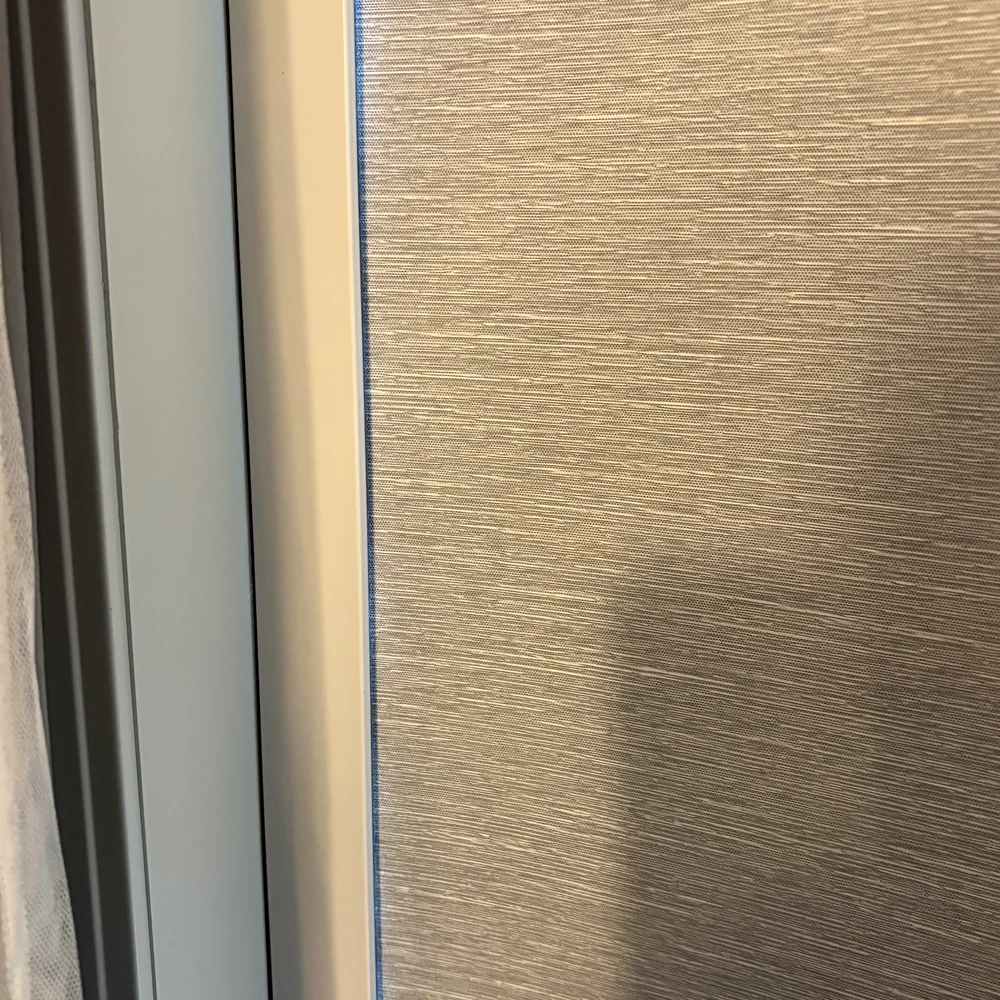 A closer look at the light-blocking rail along the side of the bedroom shade.
I mounted the dining room and guest bedroom shades farther back. We have decorations on the dining room ledge, and guests tend to put things on the guest bedroom ledge. I didn’t want the shades knocking anything off as they came down.
Once each shade was securely mounted, I held the button on the motor until it jogged to wake it from sleep mode. A “jog” is the short movement the motor makes to acknowledge a programming command.
When I showed my six-year-old daughter the shades and handed her the remote, her reaction made my day: “This is so awesome, Dad! Why are you so amazing!?”
I’ll enjoy that while it lasts. I’m sure “Why are you so embarrassing?” is coming when she’s a teenager.
My girls gave the remotes a thorough workout, running the shades through about 100 cycles.
Setting the Dining Room Shade’s Lower Limit
The lower limit tells the motor where to stop when the shade closes. Since my dining room window is only 16 inches tall, I needed to change that stopping point using the remote.
Following the Quick Start Guide, I:
- Held DOWN and STOP together for five seconds.
- Moved the shade to the position I wanted as the lower limit.
- Held DOWN and STOP together for two seconds to save it.
The upper limit can also be adjusted. SmartWings keeps the guides on its instruction manuals page; use the guide for your shade and motor.
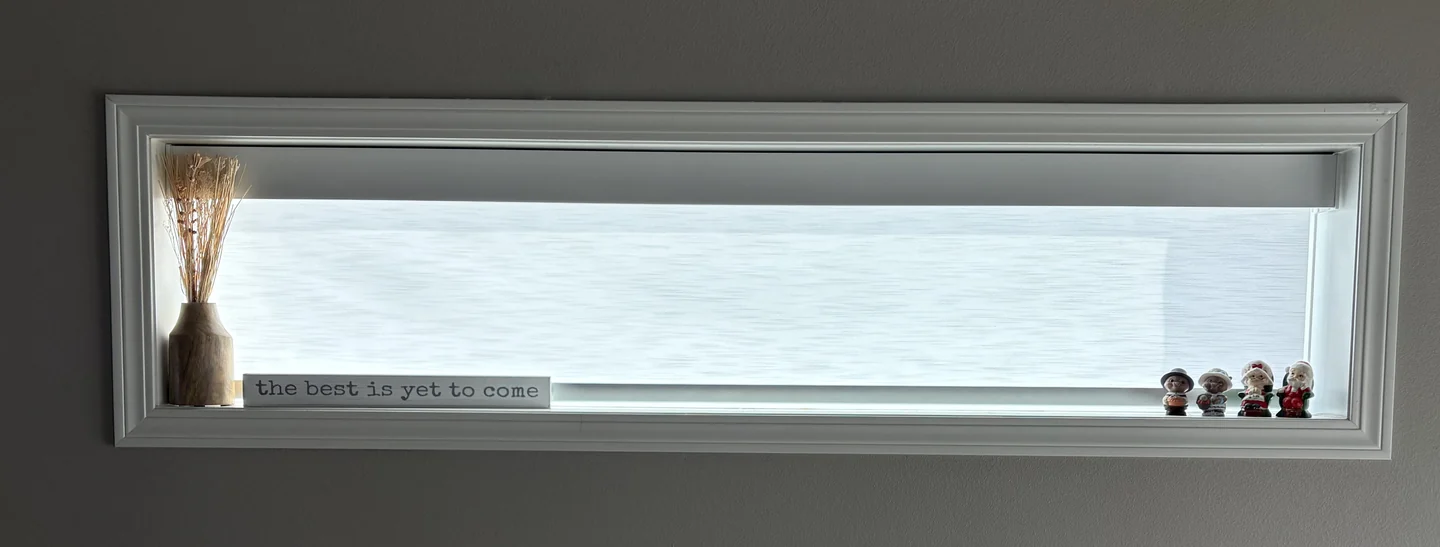 The shade at its lower limit in the 16-inch-tall dining room window, with the decorations in front of it.
Connecting SmartWings to Home Assistant
The Zigbee Motor Programming Guide covers Amazon Alexa, SmartThings, Hubitat, and Home Assistant using either ZHA or Zigbee2MQTT. Those are options for compatible setups; my experience here is with Zigbee2MQTT.
Of course, I was connecting mine to Home Assistant. I already use Zigbee2MQTT, so that was the route I took. If you’re sorting out coverage for Zigbee devices around your house, I wrote about how I used floor plans to troubleshoot my Zigbee network.
To put a shade into pairing mode, I held the button on the motor for six seconds. The guide also describes a remote-button method, but I used the motor button. Zigbee2MQTT recognized the shades right away.
After pairing, I followed the guide’s remote procedure so the up and down directions matched the controls in Zigbee2MQTT:
- Hold UP and DOWN together for five seconds, until the motor jogs.
- Hold UP and STOP together for two seconds, until the motor jogs.
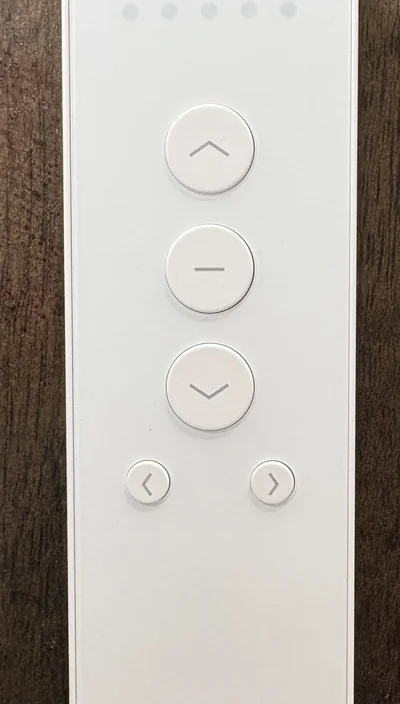 The remote buttons used for direction and limit adjustments.
In my Home Assistant view, I had open, close, and stop controls, buttons for 0%, 25%, 75%, and 100% open, and a position slider.
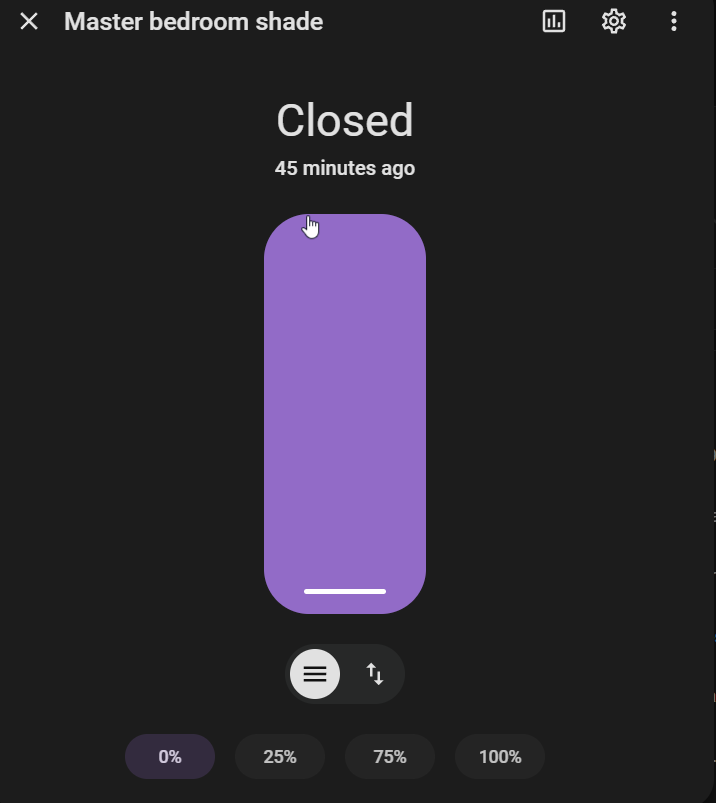 The main bedroom shade in Home Assistant, showing the position slider and quick-position buttons.
Everyday Use and Light Control
The motors are quiet and move the shades quickly. I particularly like that they slow down just before reaching the top or bottom, rather than stopping abruptly.
The light-blocking rails on the 100% blackout bedroom shades cover the side gaps well. A little light still gets through during the day, which I expected. At night, the bedroom is pitch black with the shade closed, even with our Govee permanent outdoor lights on the house and other neighborhood lighting.
In the dining room, the 70% blackout/light-filtering fabric lets in plenty of natural light while cutting out the harsh direct sunlight. The room stays comfortably lit with the shade closed.
A Short Sunlight Automation
For the south-facing bedroom window, I created an automation that uses actual conditions instead of a fixed closing time:
- Sun position: Azimuth tells me which direction the sun is in, and elevation tells me how high it is. This example uses 135–225° azimuth and 10–70° elevation.
- Outdoor brightness: The illuminance reading from my Tempest Weather Station in Home Assistant needs to be at least 25,000 lux. That gives me a brightness check instead of relying on sun position alone.
- Window state: A contact sensor must report the window closed. If someone opens it, the automation sends an open command to the shade.
Living in North Dakota, what other parts of the country call a windy day, we might just call a Tuesday. 🤣 I don’t want the wind turning a premium motorized shade into a sail because someone reached around it and opened the window.
All the closing conditions must stay true for five continuous minutes. Replace the three your_... entity IDs with your own and adjust the sun angles and brightness threshold for your window. The contact sensor is assumed to report off when closed and on when open.
1
2
3
4
5
6
7
8
9
10
11
12
13
14
15
16
17
18
19
20
21
22
23
24
25
26
27
28
29
30
31
32
33
34
35
36
37
38
39
40
41
42
43
44
45
46
47
48
49
50
51
52
53
54
55
56
57
58
59
60
61
62
63
64
65
66
67
68

alias: "SmartWings - South Window Sun Protection"
description: >
  Close the shade when sunlight is bright and the window
  is closed. Automatically open the shade if the window opens.

triggers:
  # Close only after all conditions remain true for 5 minutes.
  # Including the window here also allows closing again
  # after someone shuts the window.
  - trigger: template
    id: sunlight_ready
    value_template: >-
      {% set azimuth = state_attr('sun.sun', 'azimuth') | float(-1) %}
      {% set elevation = state_attr('sun.sun', 'elevation') | float(-90) %}
      {% set lux = states('sensor.your_tempest_illuminance') | float(-1) %}
      {{
        135 <= azimuth <= 225
        and 10 <= elevation <= 70
        and lux >= 25000
        and is_state('binary_sensor.your_window_sensor', 'off')
      }}
    for: "00:05:00"

  # Open the shade whenever the window opens.
  - trigger: state
    id: window_opened
    entity_id: binary_sensor.your_window_sensor
    to: "on"

actions:
  - choose:
      # Window opened: raise the shade regardless of sun position.
      - conditions:
          - condition: trigger
            id: window_opened
        sequence:
          - action: cover.open_cover
            target:
              entity_id: cover.your_smartwings_shade

      # Sunlight conditions met: close only if the window is shut.
      - conditions:
          - condition: trigger
            id: sunlight_ready

          # Explicit window safety condition.
          - condition: state
            entity_id: binary_sensor.your_window_sensor
            state: "off"

          # Confirm sun position and brightness are still valid.
          - condition: template
            value_template: >-
              {% set azimuth = state_attr('sun.sun', 'azimuth') | float(-1) %}
              {% set elevation = state_attr('sun.sun', 'elevation') | float(-90) %}
              {% set lux = states('sensor.your_tempest_illuminance') | float(-1) %}
              {{
                135 <= azimuth <= 225
                and 10 <= elevation <= 70
                and lux >= 25000
              }}
        sequence:
          - action: cover.close_cover
            target:
              entity_id: cover.your_smartwings_shade

mode: restart
The window-opening branch runs without the five-minute wait or a sun check. Closing the window can start a fresh five-minute period if the sunlight conditions are still met. This example doesn’t reopen the shade when it gets cloudy or the sun moves away; that would need another trigger and action.
The Guest Bedroom Factory Reset
The only setup problem I ran into was one I caused myself. While trying to reach the motor button on the guest bedroom shade, I accidentally factory reset it.
The Remote Programming Guide got me back on track. First, I paired the remote again:
- Hold the P button on the motor until it jogs once.
- Hold STOP on the remote until the motor jogs twice.
With the remote paired, I noticed the motor was running in the wrong direction. I held UP and DOWN together until the motor jogged once to correct it.
The last part took the longest. Without its limits set, the shade only moved about ½ inch each time I pressed a direction button. I needed to set both stopping points again:
- Press DOWN repeatedly until the shade reaches the desired closed position.
- Hold DOWN and STOP until the motor jogs twice.
- Press UP repeatedly until the shade reaches the desired open position.
- Hold UP and STOP until the motor jogs twice.
Tip: While setting the limits, holding UP or DOWN for more than three seconds switches to continuous movement. Press STOP before the shade passes your intended stopping point, then fine-tune its position.
That restored the remote, direction, and limits. The main lesson for me was to pay attention to how long I was holding the motor button, especially when I couldn’t easily see it.
Battery Life So Far
I installed the shades in the last week of October, and the dining room and guest bedroom shades are still reporting 100% battery in Home Assistant.
The main bedroom shade with the solar panel has also stayed at a fairly consistent battery level since installation, often sitting at the same percentage for long stretches. The snapshot below shows it holding at 96% before going up to 98%. These are early observations, but the reported battery levels have been encouraging so far.
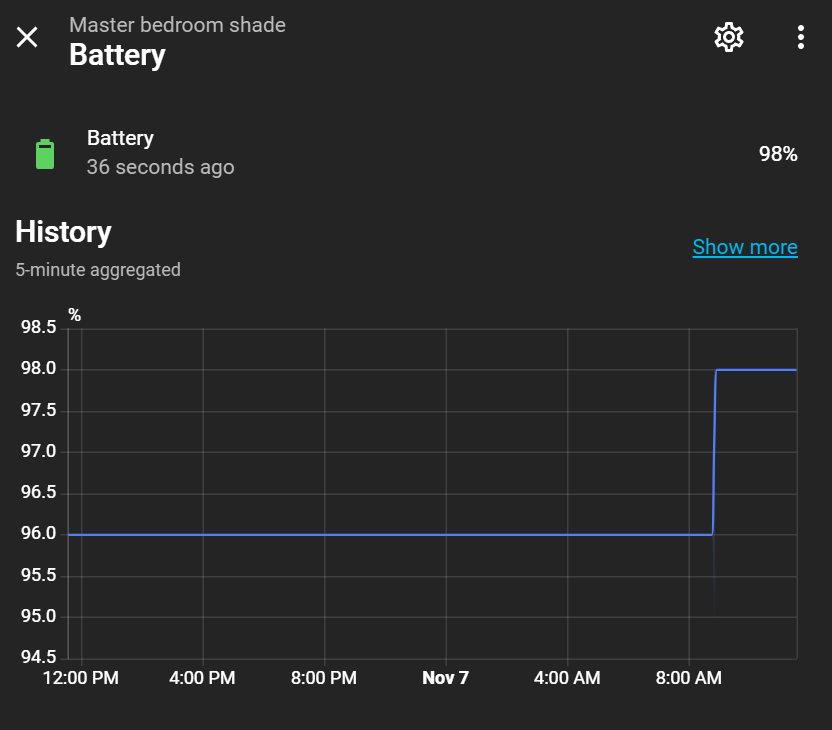 A short slice of the main bedroom shade’s reported battery history, from 96% to 98%.
Resources in This Post
Hardware
- SmartWings motorized shades
- Aqara curtain drivers
- Aqara window/door sensor
- Tempest Weather System
- Buy direct from Tempest (use coupon code CHT10 at checkout)
- Buy on Amazon
Final Thoughts
I like how the shades look, and installation was straightforward. The spring-loaded brackets made mounting them easy, and the different mounting depths let me work around the things we keep on our window ledges.
There was still some setup involved: the short dining room window needed a new lower limit, and I had to sort out direction settings after pairing. Accidentally resetting the guest bedroom shade gave me a longer tour of the programming guide than I had planned.
Having both the remotes and Home Assistant controls is what I wanted. The remotes let someone adjust a shade without opening an app, and Home Assistant lets me bring in the sun position, weather station, and window sensor when I want more control.
After my wife saw the quality and how good the shades looked, she wished we had ordered one for the living room window instead of the guest bedroom. She actually wants them for every window in the house now. We will definitely be ordering more.
My daughter’s verdict was a little more enthusiastic than mine. I’ll take “Why are you so amazing?” as a successful installation.
Want to share your thoughts or ask a question?
This blog runs on coffee, YAML, and the occasional dad joke.
If you’ve found a post helpful, you can
support my work or
☕ buy me a coffee.
Curious about the gear I use? Check out my smart home and homelab setup.