Using SCP and SSH to Update UniFi Doorbell G4 Animations and Tones
Learn how to use SSH and SCP to upload custom animations and visitor tones to the UniFi G4 Doorbell Pro, including file setup, MD5 checksums, and persistence tips.
Introduction
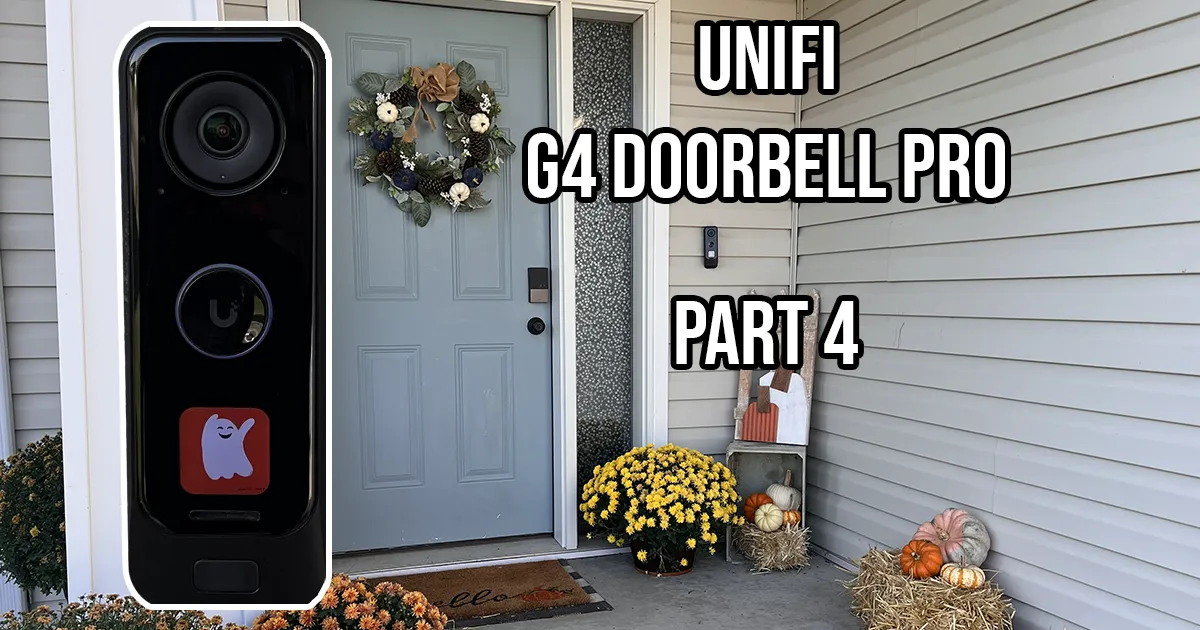
This post continues my UniFi G4 Doorbell Pro and Home Assistant series. In Part 4, we’ll cover how to use SCP and SSH to update animations and tones on the UniFi G4 Doorbell Pro.
In Part 1, I shared my experience living with the G4 Doorbell Pro after 18 months of use and how it integrates with Home Assistant for basic monitoring and LCD message control. In Part 2 I covered how to use UniFi Protect webhooks to trigger automations in Home Assistant. In Part 3 I covered the fingerprint and NFC readers.
In part one I mentioned how to set animations and tones using the mobile and web UniFi Protect apps. This post I will cover how to set them using SCP and SSH.
A fair warning: this post involves a lot of VIM. If you’ve never used it, remember — frustration is
temporary, press ESC :wq to save and exit, or ESC :q! to walk away gracefully. Stoicism in text editing.
(we’ve all been there)
You can find companion Bash and PowerShell scripts for this post on GitHub
Resources in This Post
ChrisHansenTech is a participant in the Amazon Services LLC Associates Program, an affiliate advertising program designed to provide a means for sites to earn advertising fees by advertising and linking to Amazon.com. As an Amazon Associate I earn from qualifying purchases.
Hardware
Software and Services
- Doorbell Sprites - GitHub repo from Nicholas Saraniti (tracerrx)
Enabling SSH on the UniFi G4 Doorbell Pro
Examples in this post are based on UniFi G4 Doorbell Pro firmware 5.1.97, UniFi Protect 6.1.78, and UniFi OS 4.3.6, running on a UniFi Dream Machine SE with the UniFi Protect iPhone app. Your interface may differ slightly depending on your software versions.
By default, SSH is disabled in the UniFi Console and on the UniFi G4 Doorbell Pro. You’ll first need to enable SSH on the console before you can enable it on the camera.
- Connect to your UniFi Controller.
- Select Settings → Control Plane → Console
- Select SSH in the Advanced section.
- Select Change Password to set a secure SSH password.
- Select Restart to restart the console.
After the console has been restarted, we can connect with SSH to enable SSH on UniFi protect cameras.
- Open a terminal and connect using the SSH command.
1
ssh root@[console_ip_address]
- Navigate to the UniFi Protect directory:
1
cd /etc/unifi-protect - Open or create the configuration file:
1
vim config.json
- Press i to enter insert mode and add the following JSON:
1
{ "enableSsh": true }
- Press ESC, then type
:wqto save and exit VIM. - Restart UniFi Protect:
1
systemctl restart unifi-protect
After Protect restarts, the cameras will receive the configuration update automatically within about five minutes. You can also restart the camera manually to apply the change immediately.
Get the SSH password for UniFi G4 Doorbell Pro
The SSH password for the ubnt user on the doorbell is its recovery code, which you
can find in UniFi Protect:
- Open UniFi Protect
- Select the doorbell.
- Select Settings → Manual Recovery.
- Copy the Recovery Code.
Upload and set an Animation on the UniFi G4 Doorbell Pro
The UniFi G4 Doorbell Pro uses a sprite sheet in a PNG file. Each frame in the sheet must be
240 px x 240 px, and the total width depends on how many frames are included. The file
size must be 1,048,576 bytes (1 MB) or less to comply with the whitelist.cfg restrictions on
the doorbell.
- Open a terminal and navigate to where you have your image file.
- Upload the sprite sheet using SCP (replace [image_filename] with the full filename without the extension):
1
scp -O [image_filename].png ubnt@[doorbell_ip]:/etc/persistent/lcm/animation/[image_filename].png.anim
- Generate the corresponding MD5 checksum file:
1
ssh ubnt@[doorbell_ip] 'md5sum /etc/persistent/lcm/animation/[image_filename].png.anim | awk "{print \$1}" > /etc/persistent/lcm/animation/[image_filename].png.md5'
Once the image and checksum are in place, connect to the doorbell via SSH to edit its configuration.
- Connect to the device:
1
ssh ubnt@[doorbell_ip]
- Open the configuration file in VIM:
1
vim ubnt_lcm_gui.conf
- Press i for insert mode and modify the JSON section (Tip: Before editing any configuration file, back it up with
cp filename filename.bak):1 2 3 4 5 6 7 8 9 10 11 12
{ "customAnimations": [ { "count": [sprite_count], "durationMs": [duration_in_ms], "enable": true, "file": "[image_filename].png", "guiId": "WELCOME", "loop": true } ] }
- Press ESC, then type
:wqto save and exit VIM.
Once the image and configuration are set, restart the required processes to apply the changes.
- Run:
1
2
3
killall ubnt_lcm_gui || true
killall ubnt_sounds_leds || true
exit
Most guides I found do not mention killing
ubnt_sounds_leds. However, if you don’t do this you will need to press the doorbell button to get the display to refresh.
Whenever the doorbell is restarted, the
ubnt_avclientconnects to UniFi Protect and will replace your custom animation with the current setting in UniFi Protect.
Upload and set a visitor tone on the UniFi G4 Doorbell Pro
The UniFi G4 Doorbell Pro supports .wav and .ogg files for the custom visitor tones. The file
size must be 1,048,576 bytes (1 MB) or less to comply with the whitelist.cfg restrictions on
the doorbell.
- Open a terminal and navigate to where you have your image file.
- Upload the audio file using SCP (replace [audio_filename] with your full filename, including extension)
1
scp -O [audio_filename] ubnt@[doorbell_ip]:/etc/persistent/sounds/[audio_filename]
- Generate the corresponding MD5 checksum file:
1
ssh ubnt@[doorbell_ip] 'md5sum /etc/persistent/sounds/[audio_filename] | awk "{print \$1}" > /etc/persistent/sounds/[audio_filename].md5'
Once the audio file and checksum are in place, connect to the doorbell via SSH to edit its configuration.
- Connect to the device:
1
ssh ubnt@[doorbell_ip]
- Open the configuration file in VIM:
1
vim ubnt_sounds_leds.conf
- Press i for insert mode and modify the JSON section:
1
2
3
4
5
6
7
8
9
  "customSounds": [
      {
          "enable": true,
          "file": "[audio_filename]",
          "repeatTimes": 1,
          "soundStateName": "RING_BUTTON_PRESSED",
          "volume": 100
      }
  ]
- Press ESC, then type
:wqto save and exit VIM.
Once the image and configuration are set, restart the required processes to apply the changes.
- Run:
1
2
killall ubnt_sounds_leds || true
exit
Wrapping up
Customizing the UniFi G4 Doorbell Pro at this level is not officially supported, but it shows how much flexibility these devices have when you take time to explore their inner workings. Using SSH and SCP opens the door to real control over the animations and tones that make your setup feel personal.
Keep in mind that UniFi Protect will overwrite your customizations once it reconnects to the doorbell.
If UniFi Protect is offline when the doorbell reboots, your changes will persist through the reboot.
The issue occurs when the ubnt_avclient process on the doorbell connects to the UniFi Protect server
for the first time after a restart. It will immediately apply the last settings stored in UniFi Protect,
replacing your custom animation or tone.
If you have made it this far, you are already well past the basic “smart home” setup. You are in the world of true tinkering, where curiosity, patience, and a calm mindset make all the difference.
Related posts in this series
- Part 1: Living with the UniFi G4 Doorbell Pro
- Part 2: Automating UniFi Protect Alarms and Webhooks
- Part 3: NFC and Fingerprint Access with Home Assistant
- Part 4: Custom Animations and Sounds with Home Assistant (you are here)
- Part 5: Doorbell MQTT UniFi - Full setup guide
Want to share your thoughts or ask a question?
This blog runs on coffee, YAML, and the occasional dad joke.
If you’ve found a post helpful, you can
support my work or
☕ buy me a coffee.
Curious about the gear I use? Check out my smart home and homelab setup.