Smart Home Dashboard with Raspberry Pi and Chromium OS
Recently, I’ve noticed that I’ve been late for meetings or forgetting personal obligations and appointments. Notifications on my watch and phone help, but when I get too focused on my work or assisting someone else, I tend to ignore them.
As an avid Home Assistant user, I figured I could repurpose an old Fire HD tablet and a wireless charging stand to create a Home Assistant dashboard for my desk to display my calendar and other information. However, while browsing Amazon for a wireless charging stand, I came across a 10-inch touchscreen case for the Raspberry Pi—and since I had a few Raspberry Pis lying around, I decided to go that route.
The basic setup I ended up using includes the touchscreen, a Raspberry Pi 4, and Chromium OS. I also replaced the fan that came with the case to make it quieter.
Why This Setup?
- Touch-Friendly UI: While Raspbian OS is great, its touch experience isn’t ideal. Chromium OS provides a better, more fluid touch interface.
- Silent Operation: Raspberry Pi fans can be noisy. I modified mine to run at 3.3V GPIO pin instead of 5V for quieter performance.
- Dedicated Dashboard: Having a fixed, always-on touchscreen makes interacting with Home Assistant quick and intuitive.
Hardware Used
ChrisHansenTech is a participant in the Amazon Services LLC Associates Program, an affiliate advertising program designed to provide a means for sites to earn advertising fees by advertising and linking to Amazon.com. As an Amazon Associate I earn from qualifying purchases.
- 10.1-inch Touchscreen for Raspberry Pi 5/4B/3B+/3B/B+
- Raspberry Pi 4 (4GB)
- SanDisk Ultra 128GB MicroSD Card
- GeekPI 2pc Quiet Pi Cooling Fan
Setting Up the Raspberry Pi with ChromiumOS
- Download Chromium OS for Raspberry Pi
- Flash to SD Card: I used the Raspberry Pi Imager for this.
- Initial Boot & Setup:
- Connect a keyboard and mouse for the initial setup.
- Log into Wi-Fi and sync your Google account (optional).
- Optimize Touch Input:
- Chromium OS handles touch better than Raspbian, making Home Assistant dashboards smoother to use.
- Adjust display scaling for better readability—I found that setting it to 175% worked well for my eyesight.
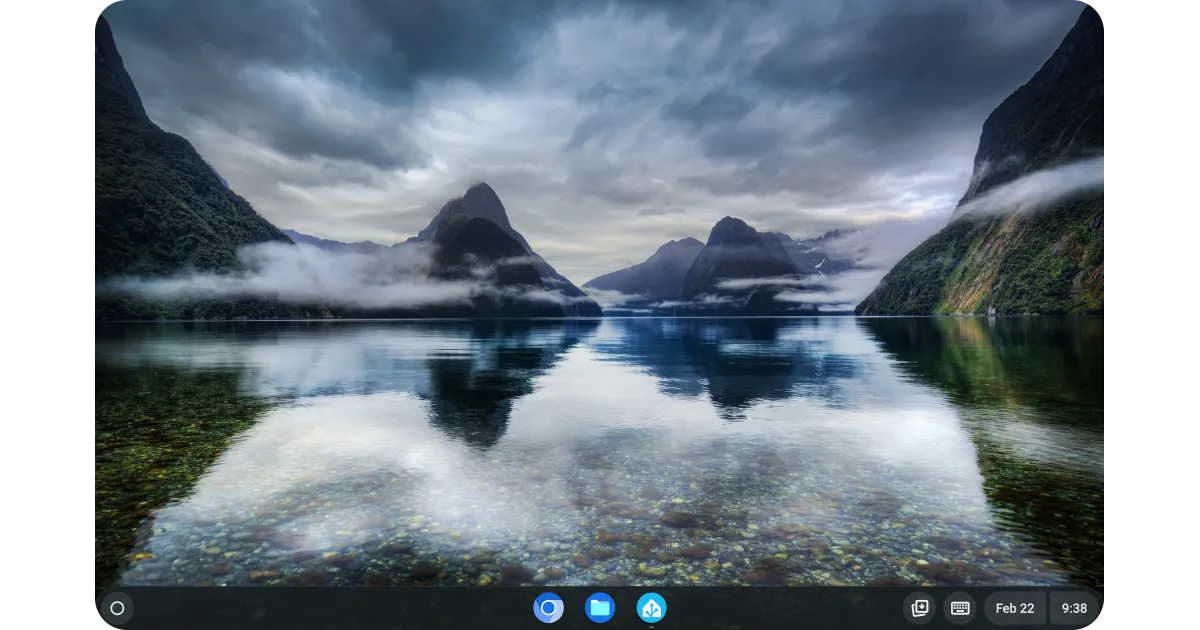 Chromium OS Desktop
Modifying the Fan for Quiet Operation
The Raspberry Pi case comes with a 5V fan, which connects to the touchscreen board. While the fan can be toggled on and off using the touchscreen OSD, it was too loud for my office environment. To make it quieter:
- I swapped the stock fan with the GeekPi fan.
- The standoffs were delicate and broke during installation, so I drilled through the case and secured the new fan using the bolts and nuts provided with the GeekPi fan.
- Instead of connecting the fan to the touchscreen board’s power, I connected it to the 3.3V GPIO pin on the Raspberry Pi, significantly reducing the noise while still providing adequate cooling.
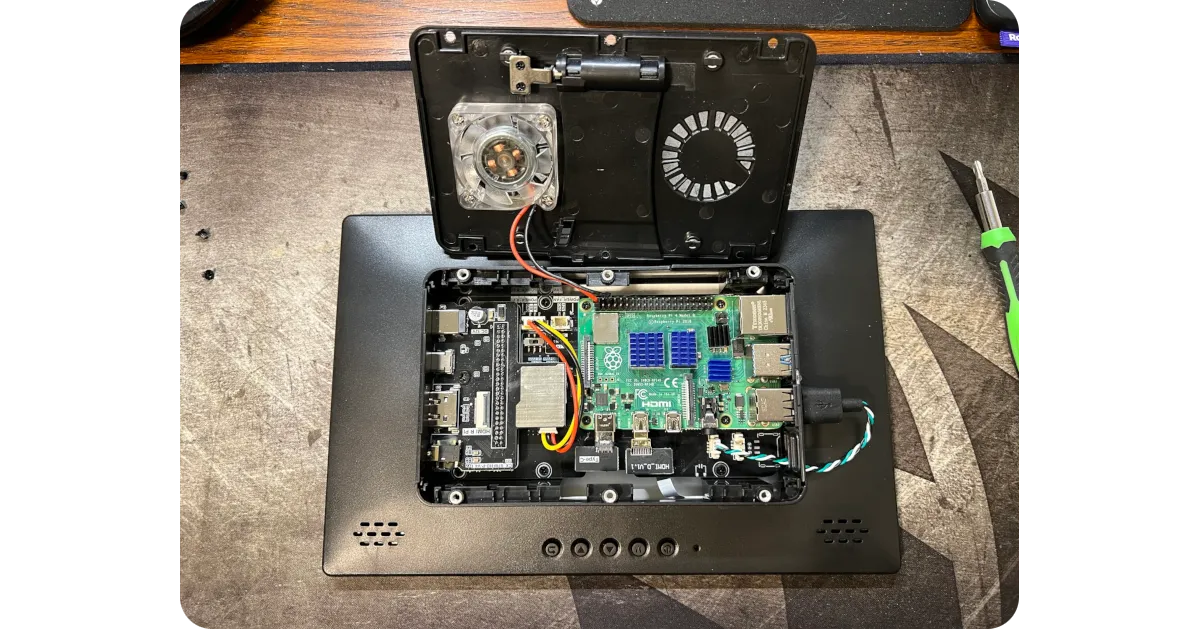 Inside Case and New Fan
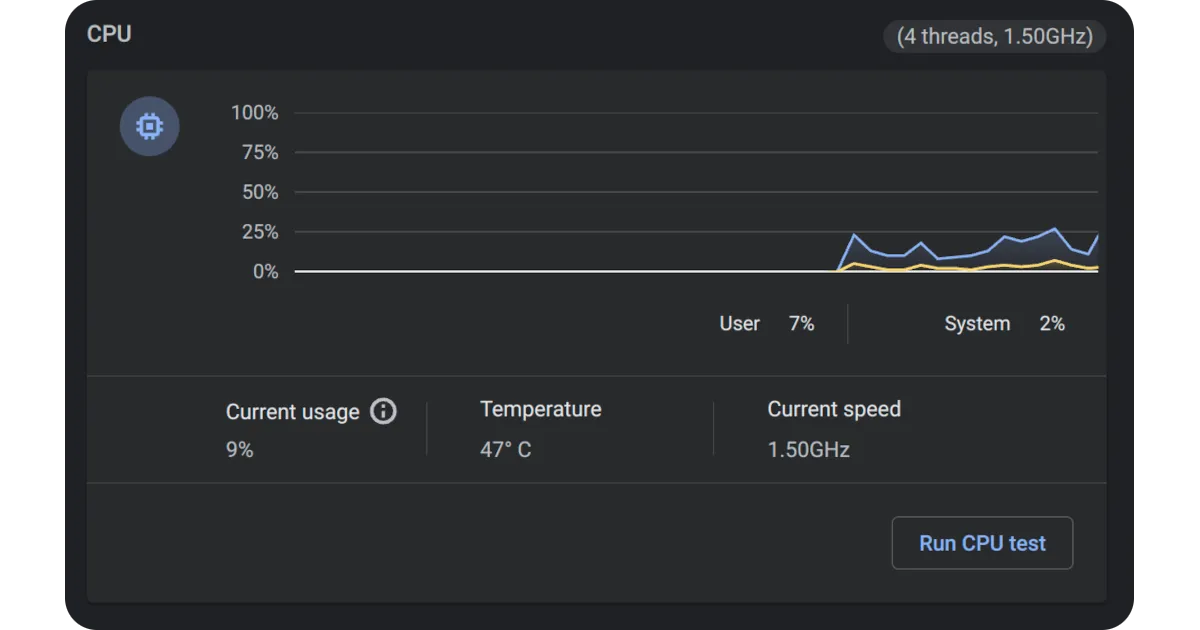 Chromium OS Diags
Configuring Home Assistant on Chromium OS
I installed Browser Mod from HACS to add additional features to Home Assistant.
- I registered the browser in Browser Mod with the ID OfficeTablet instead of using the default.
- In Chrome on the Raspberry Pi, I added the query string
?BrowserID=OfficeTabletto ensure consistent identification, as browser IDs can reset after updates or restarts. - I created a dedicated OfficeTablet user in Home Assistant and configured Browser Mod to:
- Set the default dashboard.
- Hide the sidebar for a cleaner interface.
- I also used Browser Mod to trigger a popup for the doorbell camera when a person is detected by Unifi Protect.
- Finally, I installed the Home Assistant dashboard as a Progressive Web App (PWA) and pinned it to the dock in Chromium OS.
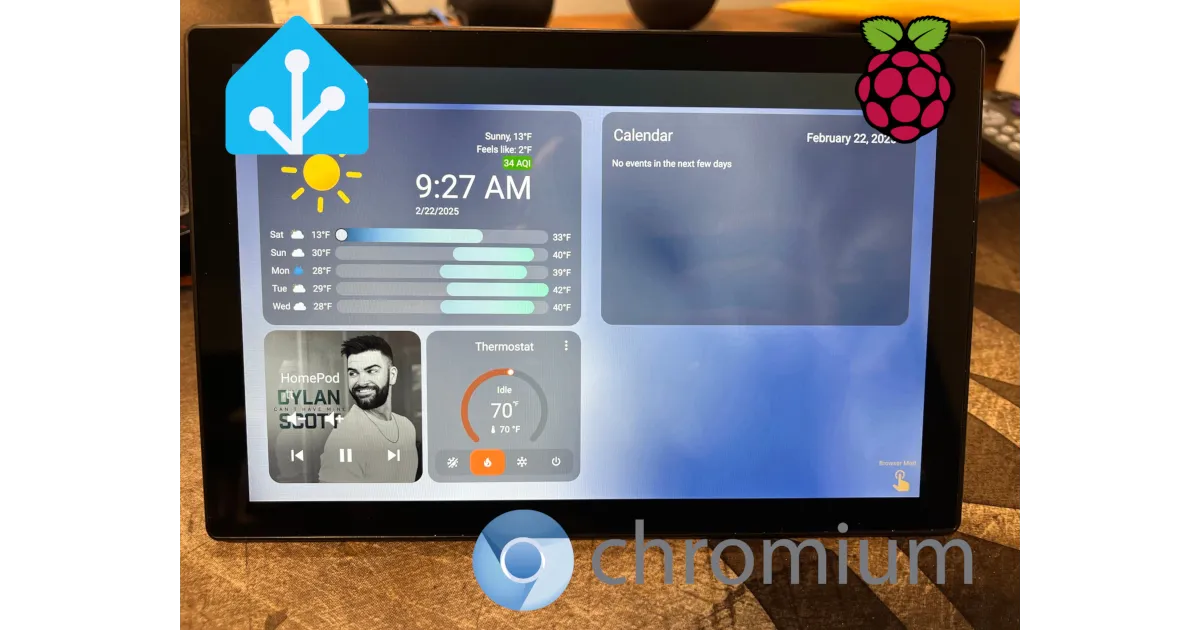
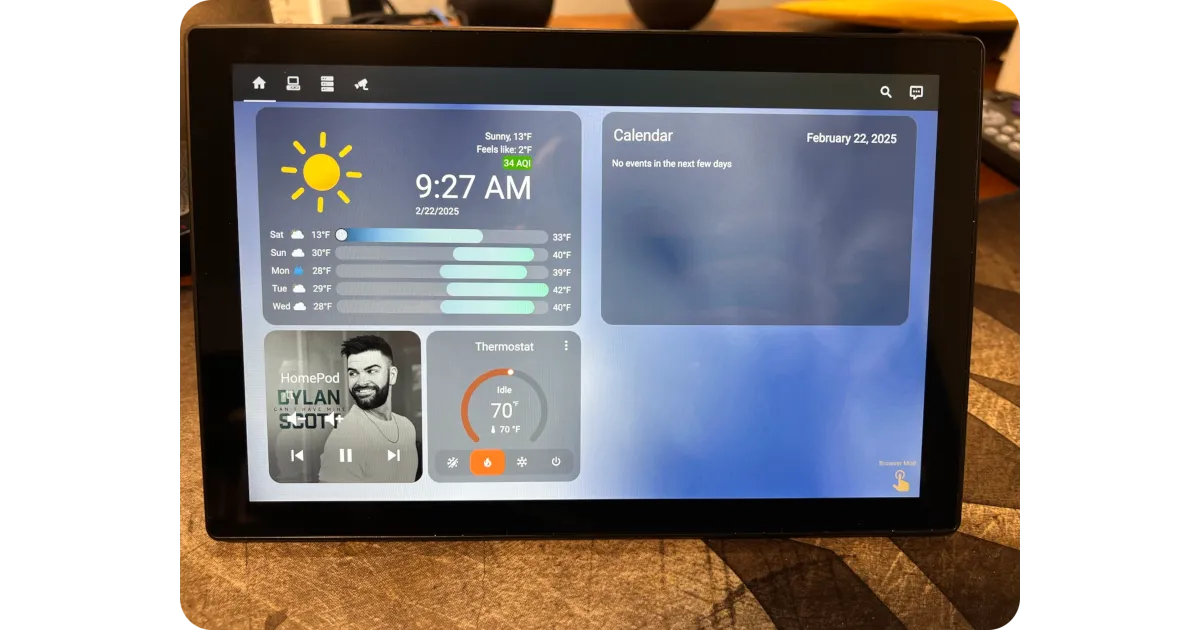 Completed Dashboard
Daily Use & Future Plans
With this setup, I now have an always-on touchscreen dashboard right on my desk, allowing me to:
- View my personal and work calendars at a glance.
- Control the HomePod Mini on my desk without needing my phone.
- Check the status of my smart home devices.
- Quickly adjust lights, thermostat, or security cameras.
- Expand functionality over time with automations.
Future Enhancements
- Voice Assistant Integration: Adding a USB mic or Bluetooth speaker for voice control capabilities, allowing hands-free control of your smart home devices using voice commands.
Final Thoughts
This Raspberry Pi touchscreen dashboard has been a fantastic addition to my smart home. It’s quiet, responsive, and makes managing Home Assistant seamless. If you’re looking for an interactive way to control your smart home, I highly recommend giving this project a try!
Want to share your thoughts or ask a question?
This blog runs on coffee, YAML, and the occasional dad joke.
If you’ve found a post helpful, you can
support my work or
☕ buy me a coffee.
Curious about the gear I use? Check out my smart home and homelab setup.