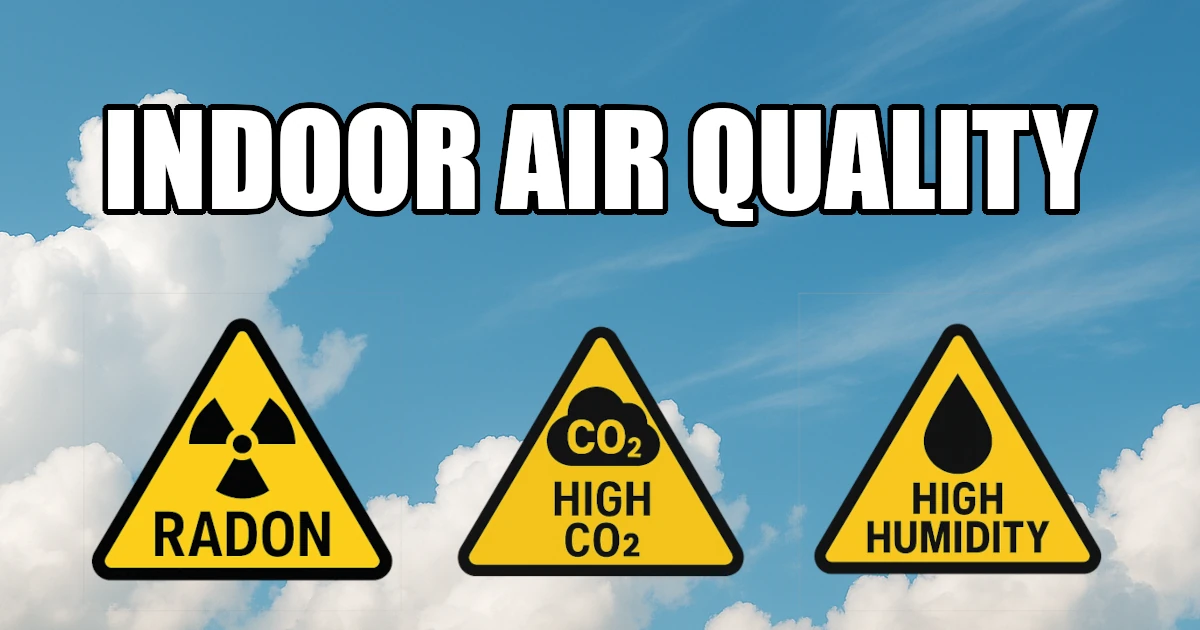
Monitoring CO₂, Radon, and Air Quality Locally with Home Assistant
How I use SwitchBot, Airthings, Ecobee, and Aqara sensors to monitor and automate air quality in my home, without relying on the cloud.
Two years ago, we moved into a new home in a part of the U.S. known for high radon levels. I work full-time from a home office in the basement, so indoor air quality isn’t just a “nice to have”, it directly impacts my daily health, focus, and long-term peace of mind.
After a neighbor recently installed a radon mitigation system, I decided it was time to take my own setup more seriously.
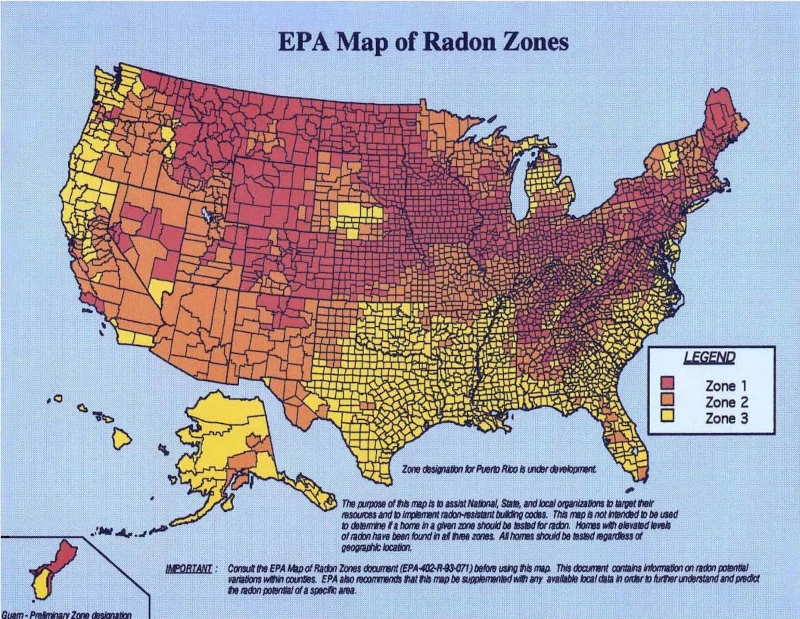 EPA Radon Zones
In addition to seasonal fall allergies—often aggravated by harvest season in the nearby fields—and the heavy humidity we get during North Dakota summers, I wanted a system that would help me stay ahead of poor air conditions rather than just react to them.
In this post, I’ll walk through how I’m monitoring and automating air quality using:
- An Airthings Radon detector and SwitchBot CO₂ sensor, both integrated via Bluetooth
- An Ecobee thermostat, connected locally through HomeKit
- A few Aqara Zigbee temperature and humidity sensors, paired with smart plugs to manage basement dehumidifiers
All of this is tied together in Home Assistant, giving me local control, real-time data, and the ability to act automatically when conditions change, no cloud required.
Devices Used
ChrisHansenTech is a participant in the Amazon Services LLC Associates Program, an affiliate advertising program designed to provide a means for sites to earn advertising fees by advertising and linking to Amazon.com. As an Amazon Associate I earn from qualifying purchases.
- Airthings Wave Radon Detector — Tracks radon levels, temperature, and humidity via Bluetooth.
- SwitchBot Meter Pro CO₂ Monitor — Monitors CO₂, temperature, and humidity via Bluetooth.
- Ecobee Smart Thermostat Premium — Provides temperature and humidity sensing. Controls my HVAC system.
- Aqara Temperature and Humidity Sensor — Zigbee-based sensor that provides temperature and humidity.
- TP-Link Tapo Matter Smart Plug — Used to automate dehumidifiers based on humidity levels.
- TP-Link Tapo Matter Smart Switch — Used to turn on an exhaust fan in the basement.
Devices & Integration Setup
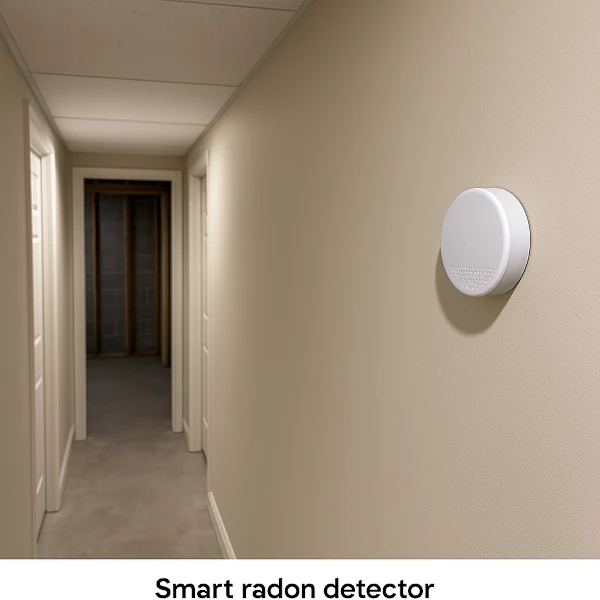
Airthings Wave Radon
Living in a high radon zone, I wanted a reliable radon monitor I could access without needing a phone app or cloud sync. The Airthings Wave uses Bluetooth, and thanks to Home Assistant’s Airthings integration, I can track long-term radon trends and set up automations if levels spike.
You’ll first need to set up the radon detector in the Airthings app on your phone. Once it’s configured, Home Assistant should detect it automatically, just make sure it’s within range of your Bluetooth dongle or an ESPHome Bluetooth proxy.
The documentation recommends mounting the sensor on an interior wall in a central location on the lowest floor of the home. To help with placement, I found an interesting use for ChatGPT. I uploaded PDF floor plans of my home and asked it for suggestions. It analyzed the layout and suggested a good location, then generated an image of the hallway with the sensor mounted. The result was surprisingly close to my actual basement hallway.
 ChatGPT Radon Sensor Placement Suggestion
The sensor needs to collect data for 30 days to calibrate properly. Expect some dramatic shifts in readings during the first week, they’ll level out over time. My basement does show elevated radon levels. Based on research ChatGPT helped summarize, it’s not an emergency, but there is a long-term health risk. I plan to install a mitigation system later this year.
SwitchBot CO₂ Sensor
This sensor is the core of my CO₂ monitoring setup. It tracks CO₂, temperature, and humidity and connects via Bluetooth using the SwitchBot Bluetooth integration in Home Assistant—no cloud required.
Start by setting it up in the SwitchBot app. Once that’s done, Home Assistant will detect it automatically (again, make sure it’s near your Bluetooth dongle or ESPHome proxy).
At first, I noticed consistently high CO₂ readings, even with windows open and the HVAC fan running. Eventually, I found a calibration setting in the SwitchBot app under the device settings. That resolved it.
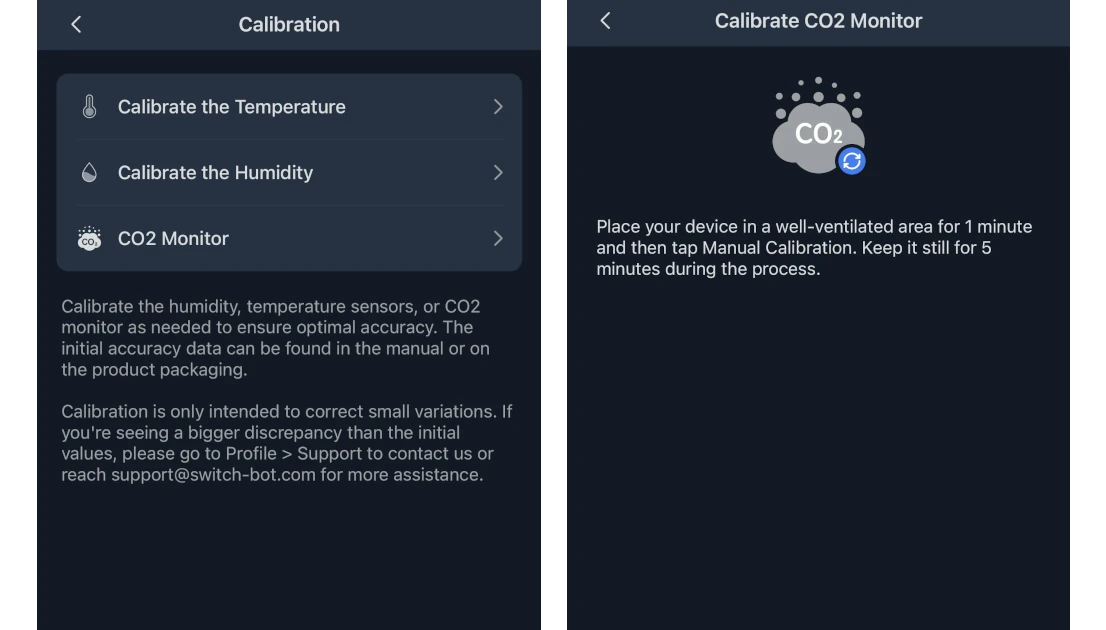 iOS SwitchBot CO₂ Calibration
This sensor sits in my basement office. I’ve noticed a real connection between high CO₂ levels and that mid-afternoon slump. When it passes 1000 ppm, I get a notification to open a window or take a break. I also trigger the HVAC fan to improve air circulation.
Ecobee Thermostat with Air Quality Sensor
The Ecobee thermostat is installed upstairs and tracks temperature, humidity, and general indoor air quality (though that air quality reading isn’t exposed to Home Assistant). I use the HomeKit integration for local control, giving me sensor access and the ability to adjust HVAC settings from Home Assistant.
If another sensor shows poor air conditions, I can trigger the HVAC fan via automation to help circulate air more efficiently.
Aqara Zigbee Temperature & Humidity Sensors
For monitoring humidity in the basement, especially during our muggy North Dakota summers, I use Aqara Zigbee sensors. They’ve been reliable, have great battery life, and pair easily with Zigbee2MQTT or ZHA.
I pair them with smart plugs that control two dehumidifiers. When humidity goes above a set threshold, automations turn the plugs on. This keeps the basement dry and prevents mold or respiratory issues from high moisture.
Automations and Insights
The real power of this setup is in the automations. Here are a few examples:
YAML for automations and dashboards can be found in my GitHub Repository
- Radon Warning: If radon levels stay above 4.0 pCi/L for more than 24 hours, I get a persistent alert and a reminder to check ventilation. It also turns on an exhaust fan in the basement until I install a proper mitigation system.
- CO₂ Alert: If CO₂ levels in my office exceed 1000 ppm, Home Assistant sends a notification to my phone and desktop, and turns on the HVAC fan.
- Humidity Control: When the Aqara sensor detects humidity above 60% in the basement, the smart plug powers on the dehumidifier.
- Dashboard Monitoring: I’ve built a Lovelace dashboard that shows CO₂, radon, temperature, and humidity in one view.
 Air Quality Dashboard
These small actions help me catch trends early and create a healthier environment—especially for my kids, who spend a lot of time playing in the basement.
Final Thoughts
If you’re trying to improve indoor air quality without relying on the cloud, this Home Assistant setup is a great place to start. The sensors I’m using are reliable, integrate easily, and give you actionable data for smart automations.
Next, I’m looking into general air quality sensors and the SwitchBot Air Purifier. Right now, I’m using basic air purifiers that need to be turned on and adjusted manually.
I’ll update this post as I refine my setup or add new components. If you’re doing something similar, I’d love to hear what’s working for you.
Want to share your thoughts or ask a question?
This blog runs on coffee, YAML, and the occasional dad joke.
If you’ve found a post helpful, you can
support my work or
☕ buy me a coffee.
Curious about the gear I use? Check out my smart home and homelab setup.